

Sugar: The Bitter Truth

"Action is the antidote to despair." Joan Baez

Best Intentions Gone Wrong

Lose 5 Pounds by Hardly Trying

Ready to Transition?
Could Push-ups Foretell Your Future Health?

I Know If You’re a Professional Writer

Finally, Warm Hands!

6 Signs Your Personal Trainer is Awesome

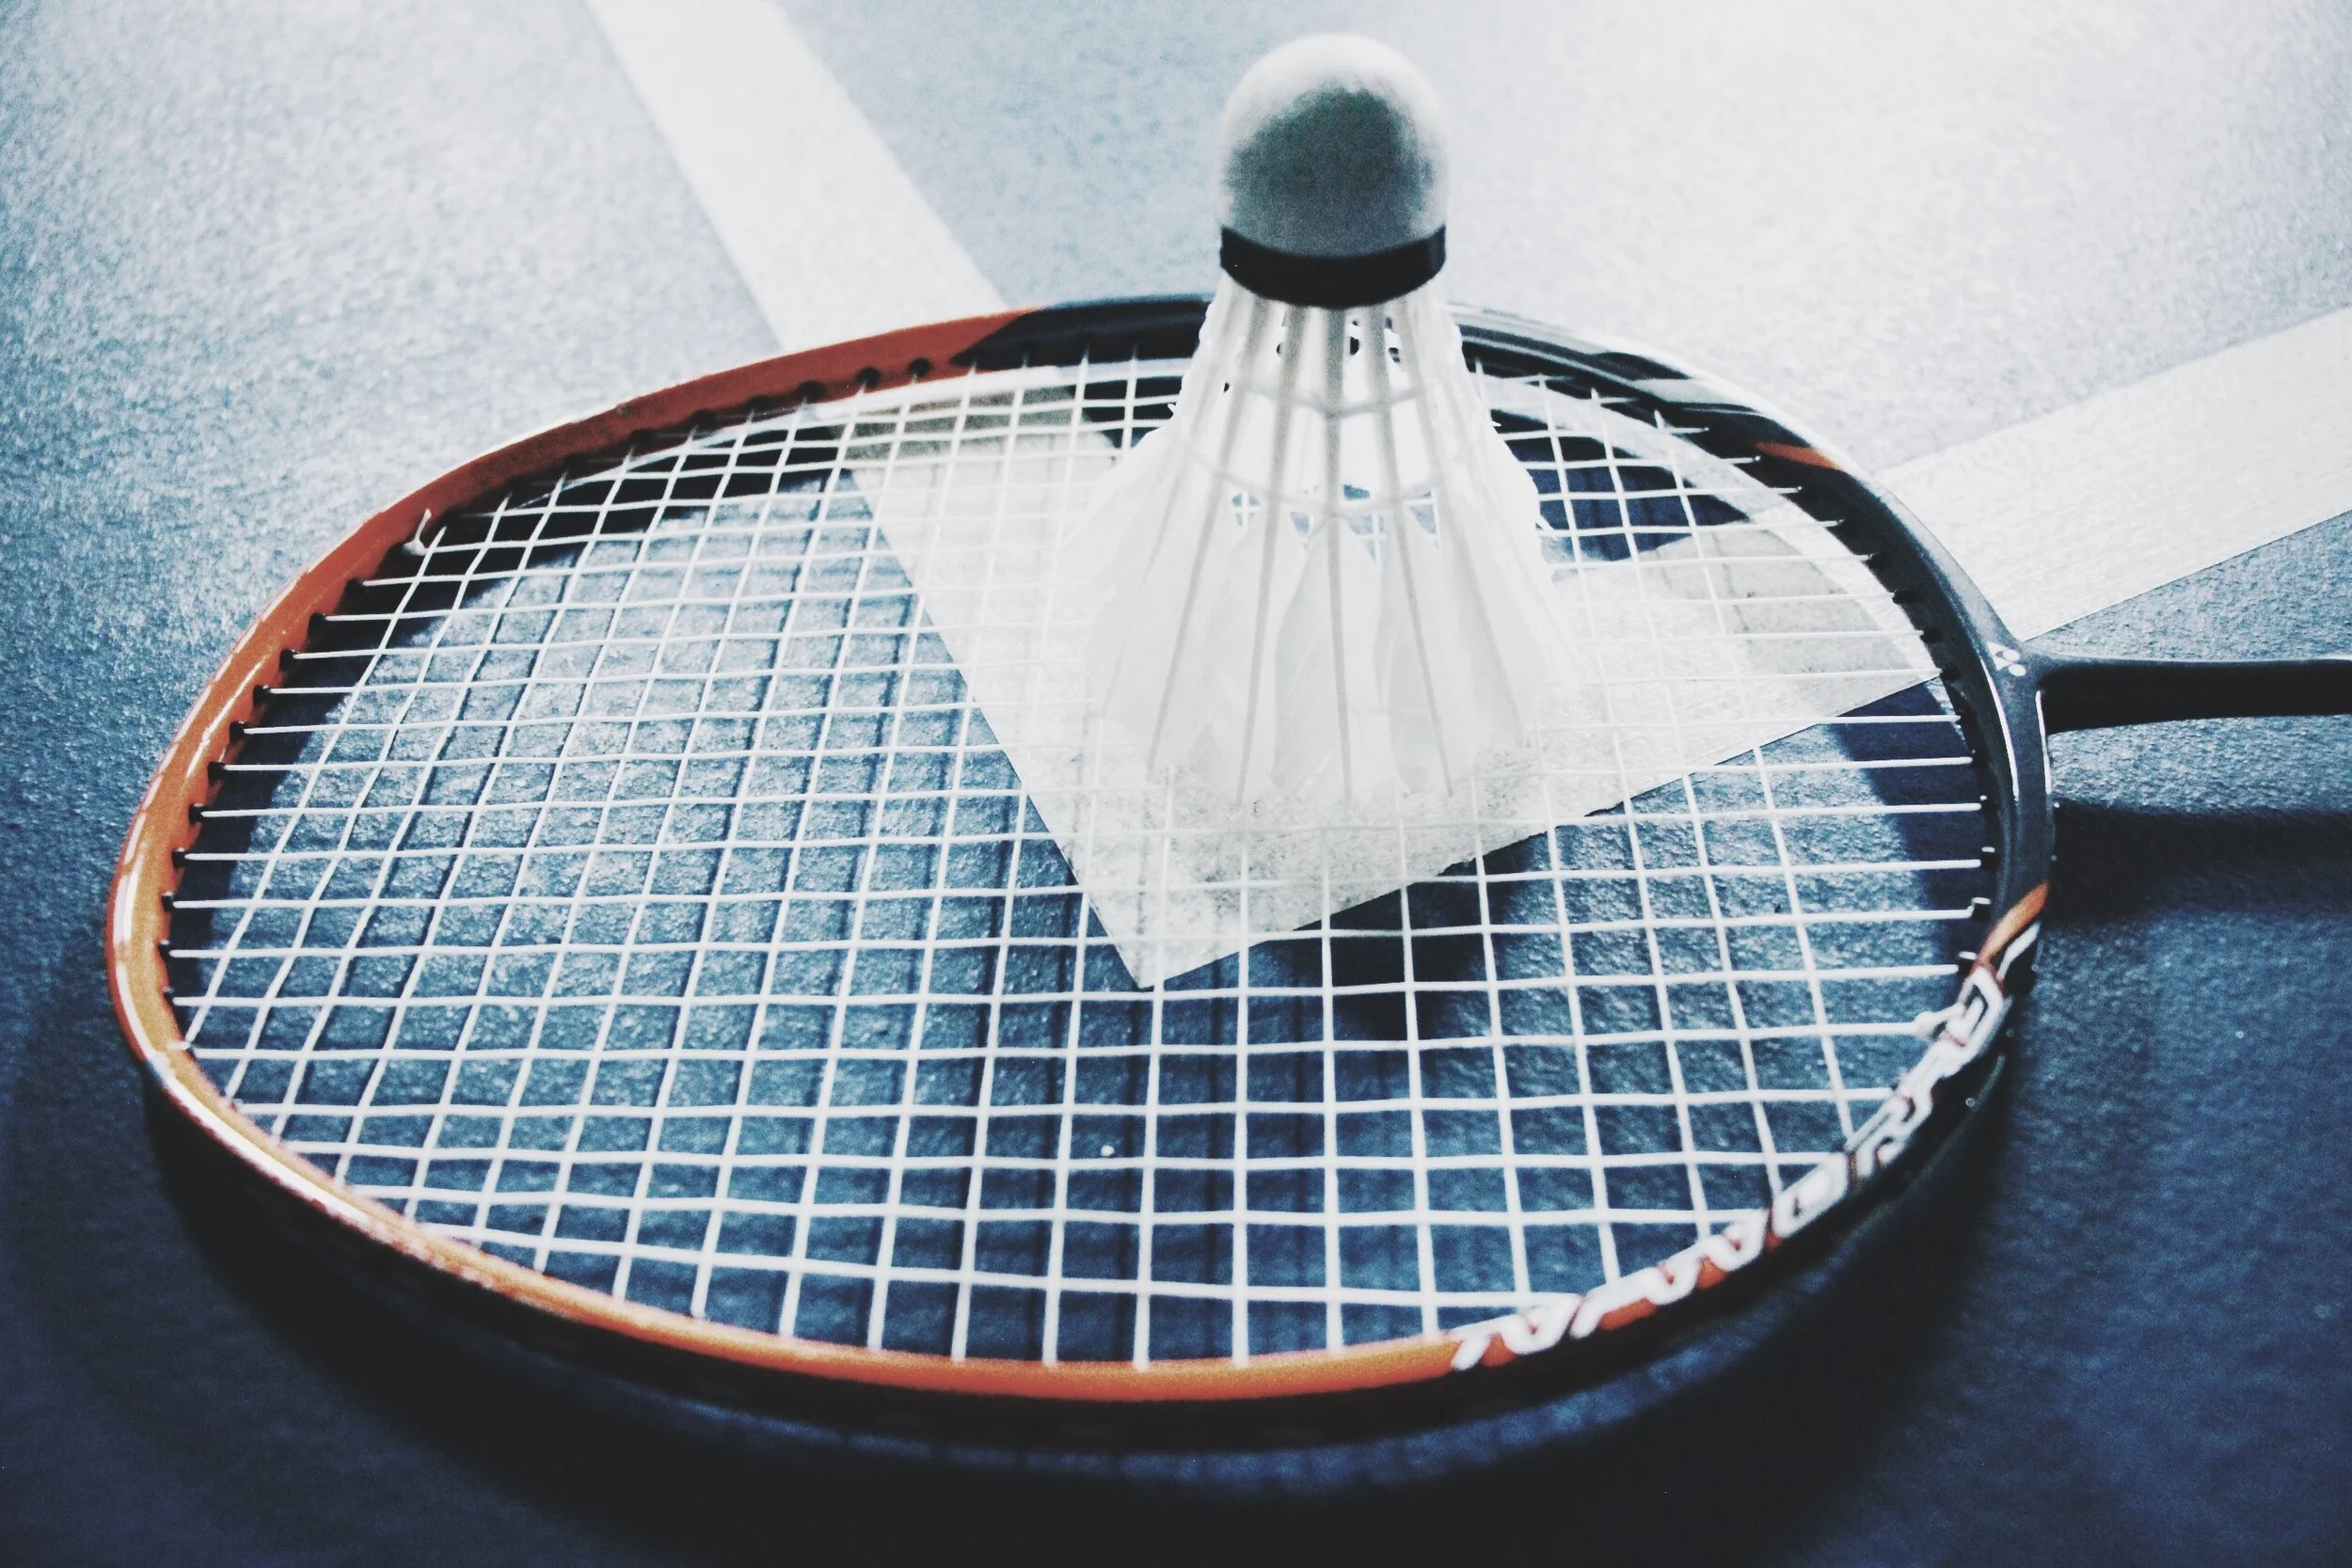
Would You Play Tennis with a Badminton Racquet?
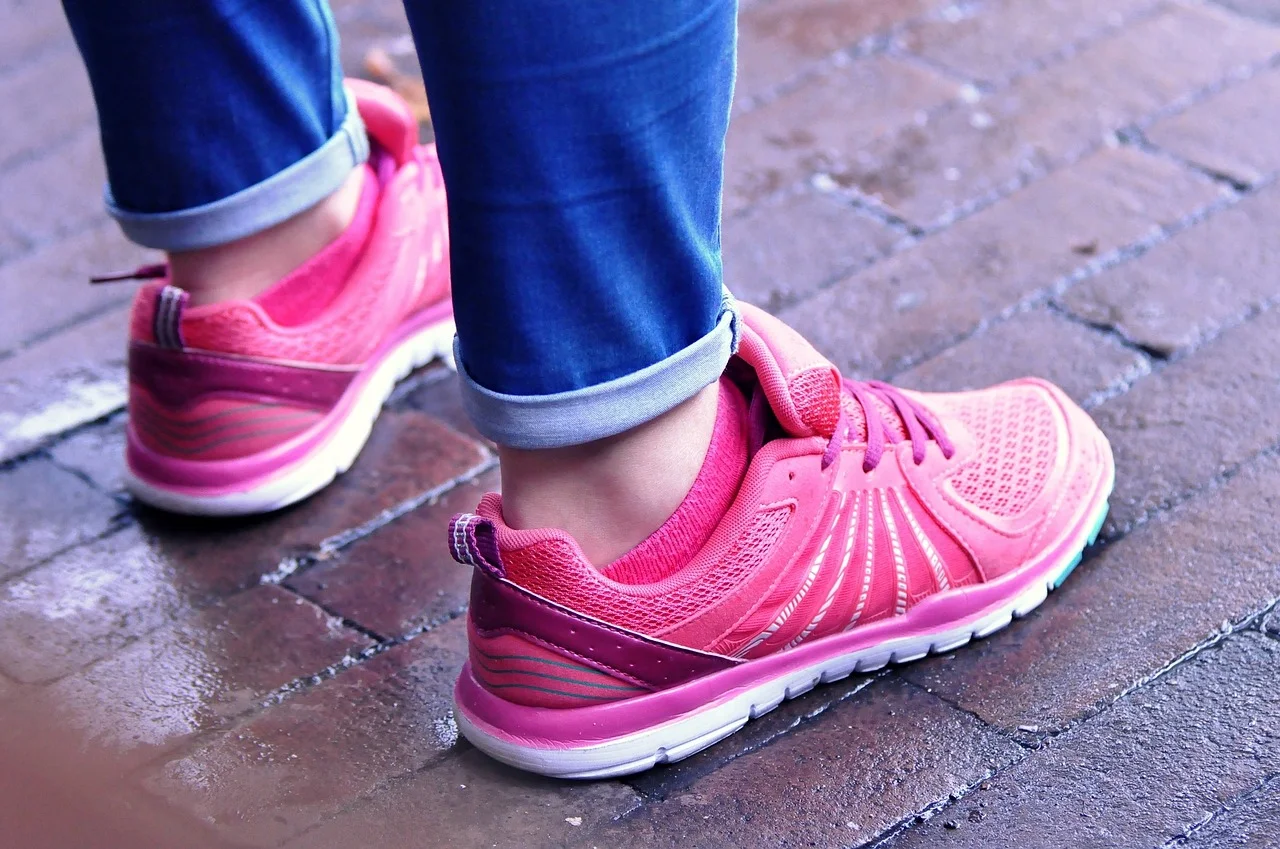
Feet Don't Fail Me Now
You Can't Make Friends With a Treadmill

How to Make Four Good Exercises Great

Plank - Once you have your body in a long straight line, without moving your hands, rotate your hands outwards and into the floor as if you were tightening two jars. This will automatically rotate your elbows in slightly, and squeeze your shoulder blades together. Then tuck in your ribcage, press your shoulders away from your ears, and press your heels way back. And lastly…press your feet and legs outward and feel your glutes suddenly contract. Now you've got almost every muscle activated, and your standard plank is a full-body/high-tension plank. (Quick check: Is your head aligned? See Push-ups below.)
Push-ups - Before you start and during each repetition, be sure you maintain a straight line from your heels all the way to the top of your head. Many people let their heads hang. This is a common mistake because dropping the head makes the exercise easier. A hanging head also reinforces the dreaded "forward head poke" posture (caused by peering at our cellphones and screens). For push-ups, and almost every other exercise, keep your ears continually aligned over your shoulders.
Hamstring stretch - Whether you're stretching your hamstrings from a seated or standing position, keep your back straight as you hinge forward from your hips. In the Jane Fonda era, the rounded back and nose-reaching-for-the-knee approach was standard . But today we know that hip hinging with a straight back gives a superior stretch and also helps us practise good upper body posture.
Biceps curls - There's more to curls than just lifting the weights up and down. Before you start, pull your navel in and lift your ribcage to brace your core. Relax your shoulders. Then hold an imaginary piece of paper between each upper arm and your torso. As you curl the weights up and lower them down, don't drop the paper! There’s no need to tap your shoulders with the weights (in fact, it’s impossible if you’re holding onto imaginary pieces of paper). This approach isolates your biceps muscles and prevents additional muscles and momentum from helping out.
This Idea is Brilliant

A Picture's Worth a Thousand Words

When a Workout Changes Your Life

Are You Really Nordic Walking...or Just Walking With Poles?
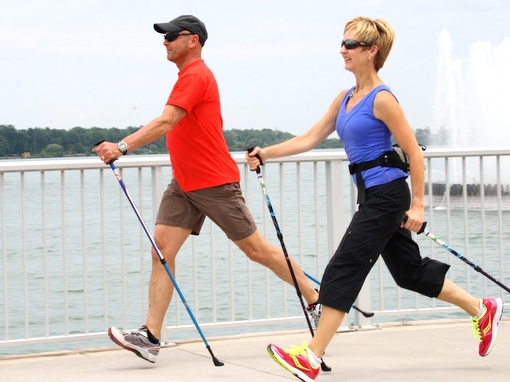
When I'm out leading a class of happy Nordic walkers or teaching a one-on-one lesson, we frequently pass another person or group also cheerily enjoying a workout with poles.
After a friendly hello as we pass by, our conversation inevitably turns to a critique of the other Nordic walkers' (almost always) poor technique:
bent elbows
poles vertical and in front of the body
poles too long or too short
no propulsion
hiking poles instead of Nordic walking poles
schlumpy posture
short little steps, etc.
These encounters are actually a great learning opportunity for my participants (recognizing errors is a great confidence booster). But I find it disheartening that so few people learn to use their poles properly.
Just one lesson or clinic is all that's required for most people to understand the basics of Nordic walking. Without some rudimentary instruction and feedback most people end up simply walking with poles, using them the same way they would hiking poles.
They don't realize that hiking poles (also called trekking poles) are used to minimize effort when walking, while Nordic walking poles are used to maximize effort and to challenge almost every muscle in the body.
If you're curious about the Nordic walking workout, take the intelligent approach and connect with a certified Nordic walking instructor.
She or he can help you with:
choosing the right poles
setting telescoping-style poles to the proper length for you
understanding the Nordic walking technique, coordination and rhythm
maintaining proper posture
modifying the intensity up or down
troubleshooting any issues
and much more
Failure to Launch -- Almost

The first time I experienced Nordic walking, I was immensely disappointed.
I was a competitive power walker, occasional runner and lover of sweaty workouts of all kinds.
When the Vancouver-based Nordic walking company Urban Poling called me (over 10 years ago now) to see if I'd test drive their poles and the Nordic walking technique, of course I said yes.
I'd vaguely heard that Nordic walking was a huge hit in Europe, and I was keen to try it for both myself and my personal training clients.
When the poles arrived, I carefully watched the accompanying DVD at least three or four times.
Feeling confident that I had the basics memorized, a colleague and I headed out with a spring in our step to Toronto's lovely Sunnybrook Park to give them a test run.
It was a frustrating experience to say the least.
Just when we thought we were getting the rhythm and coordination right, our boot tips would slip back on the asphalt and we'd lose our propulsion. My boot tips were also doing an odd bounce.
We agreed that it wasn't a very challenging activity.
With no one to troubleshoot for us, we eventually gave up, tucked the poles under our arms and trudged home.
Fortunately, a short time later I participated in the Urban Poling Instructor Certification Course.
In those four hours, all of my issues were quickly resolved. Turned out that I just needed an experienced eye to give me some quick tips and corrections.
While Nordic walking isn't a difficult skill to learn, it's the small details that can throw you off.
The slipping boot tip issue was resolved once I learned that my weaker left arm wasn't swinging fully up into position. Suddenly I felt my core and triceps tighten as my arms began to work in sync.
I also learned several ways to increase the intensity and that I should press more firmly on the ledge of the handles to stop the bouncing. Problems solved.
As the course wrapped up, it was clear to me why so many people are hooked on the Nordic walking workout.
Moral of the story? If you want to fully understand and master a new skill, self teaching is a good place to start. But it will never replace the experience of learning from a professional instructor.
A Simple Trick That Makes A.M. Workouts More Doable

I love exercising in the morning. It's a great feeling to already have my workout crossed off my to-do list when I'm sitting down to breakfast.
Leaping out of bed at 5:30 or 6am isn't a problem for me during the bright sunny days of spring and summer. But come fall and winter, I'm more likely to just open one eye at the beep of the alarm. And then I might just start that internal conversation of justifying a sleep-in while I snuggle deeper under the covers.
My solution to this universal issue is a bit unorthodox, but it works every time: I wear my workout clothes to bed.
The idea came to me when I realized that the stretchy top and yoga shorts I often wear for workouts weren't that different from my pajamas. Sometimes I wear the entire outfit and sometimes just the top with my pajama bottoms.
For me, already being dressed magically eliminates the "should-I-go-or-should-I-stay" self talk that can so easily start on a dark and dreary morning. If I'm already dressed or half dressed, my first thought is always that it would be silly to not just get up and go.
If you try my workout-clothes-as-pajamas trick, let me know how it works for you. Have another strategy to tackle early morning lethargy? I'd love to hear it!